
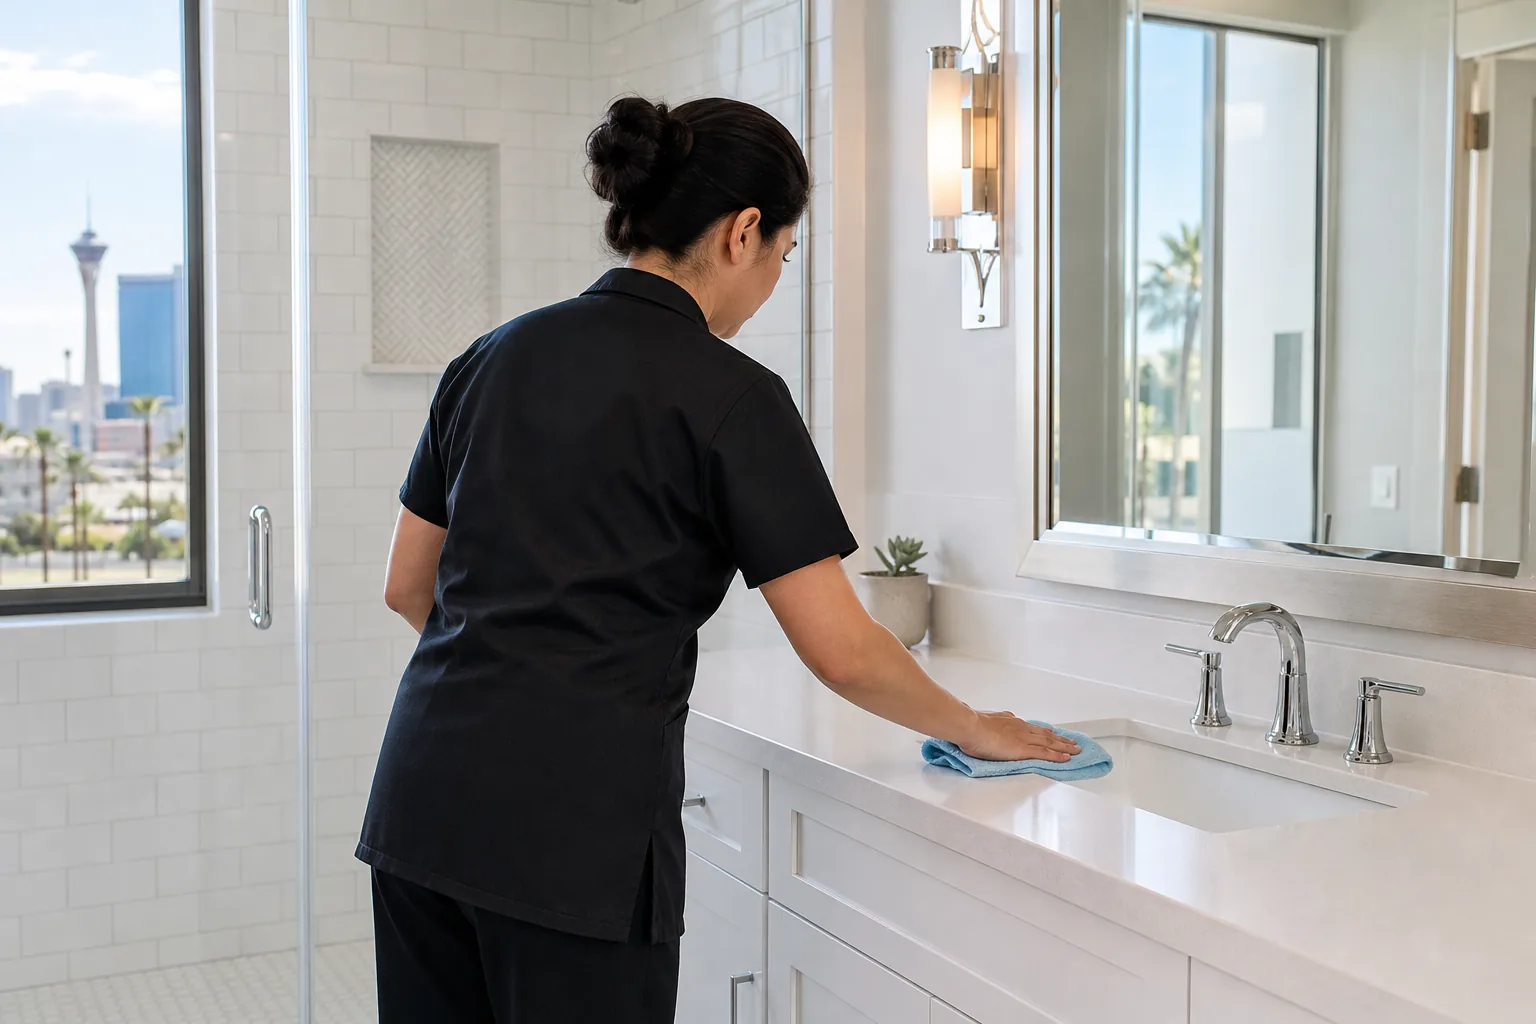
Las Vegas tap water is hard, and the minerals it carries leave a white crust around faucet bases, a haze on shower glass, and a pale buildup on tile surfaces wherever water sits and dries. When you add soap scum and everyday humidity, Las Vegas bathrooms accumulate grime faster than most rooms in the house.
Regular cleaning keeps a bathroom presentable, but it rarely reaches the mineral buildup in grout lines, the film on chrome fixtures, or the soap residue at the edges of a tub surround. A full deep clean requires a deliberate sequence, the right products for each surface type, and clear attention to product safety. This guide covers all three.
Before you start: supplies and a critical safety rule
Gather everything before beginning: an all-purpose bathroom cleaner, a toilet bowl cleaner, baking soda, 3% hydrogen peroxide, a pH-neutral stone cleaner (if your bathroom has natural stone tile or countertops), microfiber cloths, a non-abrasive scrub pad, a grout brush or old toothbrush, a squeegee, and a mop and bucket.
One rule applies to every cleaning session, not just the bathroom: never mix cleaning products unless the label specifically says it is safe. In particular, never combine bleach with ammonia-based cleaners, and never combine bleach with vinegar or any acid-based product. Both combinations produce harmful fumes in a confined space. Use one product at a time, follow label directions, and rinse surfaces thoroughly before applying a second cleaner. When using bleach-based products in the bathroom, run the exhaust fan or open a window.
Work top to bottom — always
The reason professional cleaners work from the ceiling down to the floor is simple: dust and debris from higher surfaces fall onto lower ones. If you mop the floor first and then scrub the tub surround, whatever you dislodge from the tile lands on your clean floor.
Start at the highest point in the room and work down, doing all dry work (dusting, wiping) before wet work (scrubbing, mopping). The floor is always last.
Step 1: Exhaust fan and light fixture
The exhaust fan is easy to overlook in a bathroom deep clean. Dust accumulates on the grill and inside the cover, reducing airflow and creating a fine dust presence in the room.
Use a dry microfiber cloth or a vacuum brush attachment to wipe the fan grill. If the cover is removable, take it off and rinse it in the sink, then let it dry completely before replacing it. Do not use liquid cleaners directly on or inside the fan housing. Wipe any dust from light fixture covers and bulbs with a dry cloth — make sure lights are off and cool before touching.
Step 2: Mirrors and medicine cabinet
Spray a glass cleaner onto a microfiber cloth rather than directly onto the mirror. Wiping a dry cloth across the glass first removes any surface dust, then the second pass with glass cleaner gives a streak-free result. Wiping in a consistent direction (top to bottom or side to side) reduces smearing.
Clean the exterior of the medicine cabinet with a damp cloth. Open the cabinet and wipe down the shelves with a mild all-purpose cleaner; rinse and dry before replacing any items. Check the cabinet seal and hinges for soap residue.
Step 3: Countertop and sink
Apply an all-purpose bathroom cleaner to the countertop and work it in sections, wiping with a microfiber cloth and rinsing well. For natural stone countertops — granite, marble, or quartzite — use only a pH-neutral stone cleaner. Vinegar, citrus-based cleaners, and any acidic product will etch natural stone and can permanently dull the surface.
The faucet base and drain area in Las Vegas bathrooms typically show a buildup of white calcium deposits. A hard-water or lime-and-scale remover is more effective than all-purpose cleaner for established mineral deposits. Apply it per the product instructions, observe the recommended contact time, and rinse thoroughly. Rinsing matters: leaving any descaler residue on chrome or stainless finishes can affect the surface over time.
Step 4: Tub and shower
Start at the top of the shower walls and work down. An all-purpose bathroom cleaner handles everyday soap scum on most ceramic tile and fiberglass surfaces. For more substantial buildup, a baking soda paste — baking soda mixed with a small amount of water to form a thick consistency — applied with a non-abrasive scrub pad and worked in small sections loosens soap residue effectively.
If the shower surround includes natural stone tile, do not use any acid-based cleaner, vinegar, or baking soda on the stone itself. Use a pH-neutral stone cleaner designed for wet areas. Baking soda paste is fine on ceramic tile, but it is mildly abrasive on polished stone surfaces.
For glass shower doors, a hard-water remover applied per product instructions dissolves the mineral haze that builds up on the interior surface. Follow with a squeegee wipe from top to bottom, then dry the frame with a cloth. Going forward, a daily squeegee after showering is one of the best habits for preventing mineral re-accumulation.
Step 5: Grout
Grout lines in Las Vegas bathrooms accumulate soap residue and mineral deposits that general tile cleaning does not reach. A baking soda paste applied to grout lines with a grout brush or toothbrush, left for three to five minutes, then scrubbed and rinsed, handles most grout buildup. For discolored or stained grout on light-colored tiles, 3% hydrogen peroxide applied directly to the grout line and allowed to sit for ten minutes before scrubbing and rinsing is a practical approach.
Do not use vinegar on cement grout. Vinegar is acidic, and acid degrades cement grout over time — it can widen grout lines, weaken the bond, and make the grout more susceptible to future staining. This rule applies even when the surrounding tile is ceramic. The same restriction applies to bleach-based cleaners used directly on colored grout, which can cause fading.
Step 6: Toilet
Work from the outside in. Spray the exterior surfaces — the tank, the base, the sides, and the outside of the bowl — with all-purpose bathroom cleaner. Wipe the tank and base first (these are the least-soiled), then the seat and lid on both sides, then the outside of the bowl. Use a fresh cloth for each transition to avoid cross-contamination.
For the interior of the bowl, apply a toilet bowl cleaner under the rim and allow it to sit per the product instructions. Scrub with a toilet brush, concentrating under the rim and down the sides of the bowl. Flush to rinse. Do not mix toilet bowl cleaner with any other product inside the bowl — flush and rinse the bowl with plain water if switching cleaners.
Step 7: Baseboards, then floor
Wipe baseboards and the floor perimeter with a damp cloth before mopping. This removes dust and hair that would otherwise be pushed around during mopping and left in the corners. Wipe the baseboards while you are close to floor level — it is the natural transition point.
Then sweep or vacuum the floor to remove loose debris, and mop from the far corner toward the door so you are not walking over the wet floor as you work. Use a pH-neutral floor cleaner that is safe for tile and grout, and rinse the floor after mopping.
Hard water deposits: a material-by-material guide
White mineral buildup responds differently depending on the surface it is on:
- Chrome and stainless steel faucets and showerheads: For mineral buildup on chrome showerheads and faucet aerators, the safest approach is to remove the showerhead or aerator and soak it in a bowl of white vinegar away from the tile, grout, and stone in the shower area. Allow it to soak for 30 to 60 minutes, rinse thoroughly, and reinstall. This keeps the vinegar entirely away from grout and stone surfaces, where acid causes damage.
- Ceramic tile: Hard-water removers and mild acid-based descalers work well. Follow contact time and rinse thoroughly.
- Natural stone tile: Use only a pH-neutral stone cleaner. No vinegar, no citrus, no descalers unless they are specifically labeled safe for natural stone. When in doubt, consult the stone manufacturer’s care instructions.
- Glass shower doors: Purpose-made hard-water glass cleaners are the most reliable option. A daily squeegee is one of the best habits for prevention.
How often to deep clean a bathroom in Las Vegas
For most Las Vegas homes, a thorough bathroom deep clean every two to three months is realistic. Hard water accelerates buildup on fixtures and glass, so homes with glass shower doors or all-tile showers may benefit from a slightly tighter schedule.
Between deep cleans, regular maintenance — wiping fixtures after use, a daily or post-shower squeegee on glass, and weekly surface cleaning — keeps the bathroom in reasonable condition and shortens the time needed for the next full deep clean.
When a professional deep clean makes sense
If mineral buildup has gone untreated for several months, removing it thoroughly takes time, the right products, and experience with Las Vegas surface conditions. Ladybug Cleaning Co.'s deep cleaning service addresses bathroom buildup — soap scum and hard water deposits — as part of a top-to-bottom home reset.
For homes that are already in good condition, a standard cleaning maintains the bathroom and all other rooms on a recurring schedule. If you are not sure which service fits your home right now, the guide deep cleaning vs. standard cleaning explains the difference clearly.
Ready to skip the scrubbing? Book online for an instant quote — no back-and-forth required.
Frequently asked questions
Is it safe to use bleach to clean a bathroom?
Bleach-based toilet bowl cleaners and bathroom disinfectants are safe when used as directed and with proper ventilation. Run the exhaust fan or open a window when working with bleach-based products. The critical safety rule: never mix bleach with ammonia-based cleaners, and never mix bleach with vinegar or any acid-based cleaner. Both combinations produce fumes that are harmful in a confined bathroom space. Use one product at a time and rinse surfaces between cleaners.
How do I remove hard water stains from a glass shower door?
A cleaner formulated specifically for hard water, lime, and scale is the most reliable option for glass shower doors. Apply it per the product instructions, allow the recommended contact time, then wipe and rinse. For prevention, a squeegee used after every shower is one of the most effective steps — it removes the water before it can dry and leave mineral deposits. A weekly wipe with a damp cloth keeps the glass clear between deep cleans.
Can I use vinegar to clean bathroom grout?
No. Vinegar is acidic, and acid degrades cement grout over time. Even diluted white vinegar used repeatedly on cement grout can widen grout lines, weaken the bond, and make the grout more porous and harder to keep clean. For grout cleaning, a baking soda paste with a grout brush is the practical starting point. For stubborn discoloration, 3% hydrogen peroxide applied to the grout line and left for ten minutes before scrubbing is a safer alternative that does not damage the grout.
How do I know if I need a deep clean or a standard cleaning for my bathroom?
If the bathroom has visible soap scum, a film on the glass or tile, mineral buildup around the faucet base, or grout that has not been scrubbed in a while, a deep clean is the right starting point. Standard cleaning maintains a bathroom that is already at a good baseline — it covers all surfaces on a regular schedule but does not address the kind of buildup that accumulates over months. Ladybug’s deep cleaning vs. standard cleaning guide walks through the distinction in detail.